JetBackup is a leading backup solution for cPanel that allows you to backup and restore your cPanel accounts. Here’s a step-by-step guide on how to use JetBackup to restore a cPanel account.
How to Start Restoring a cPanel Account from Backup?
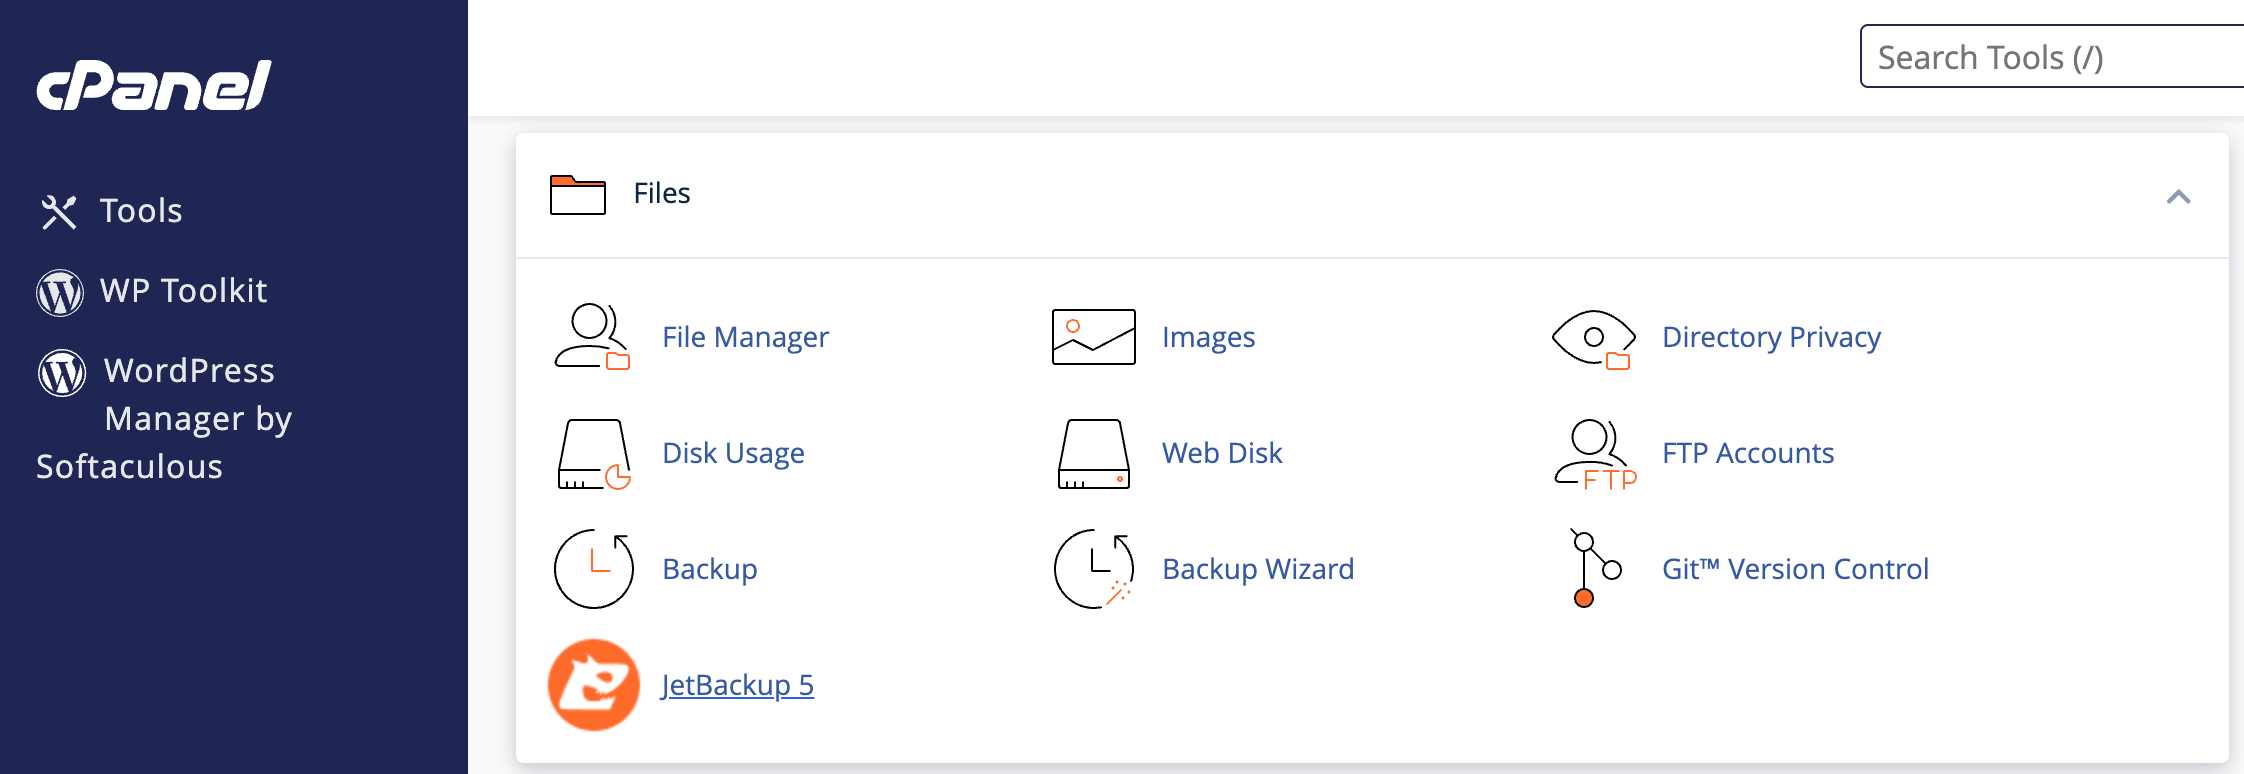
Before you begin, login to your cPanel account. Make sure you have a cPanel account with JetBackup installed and a backup file of the cPanel account you want to restore.
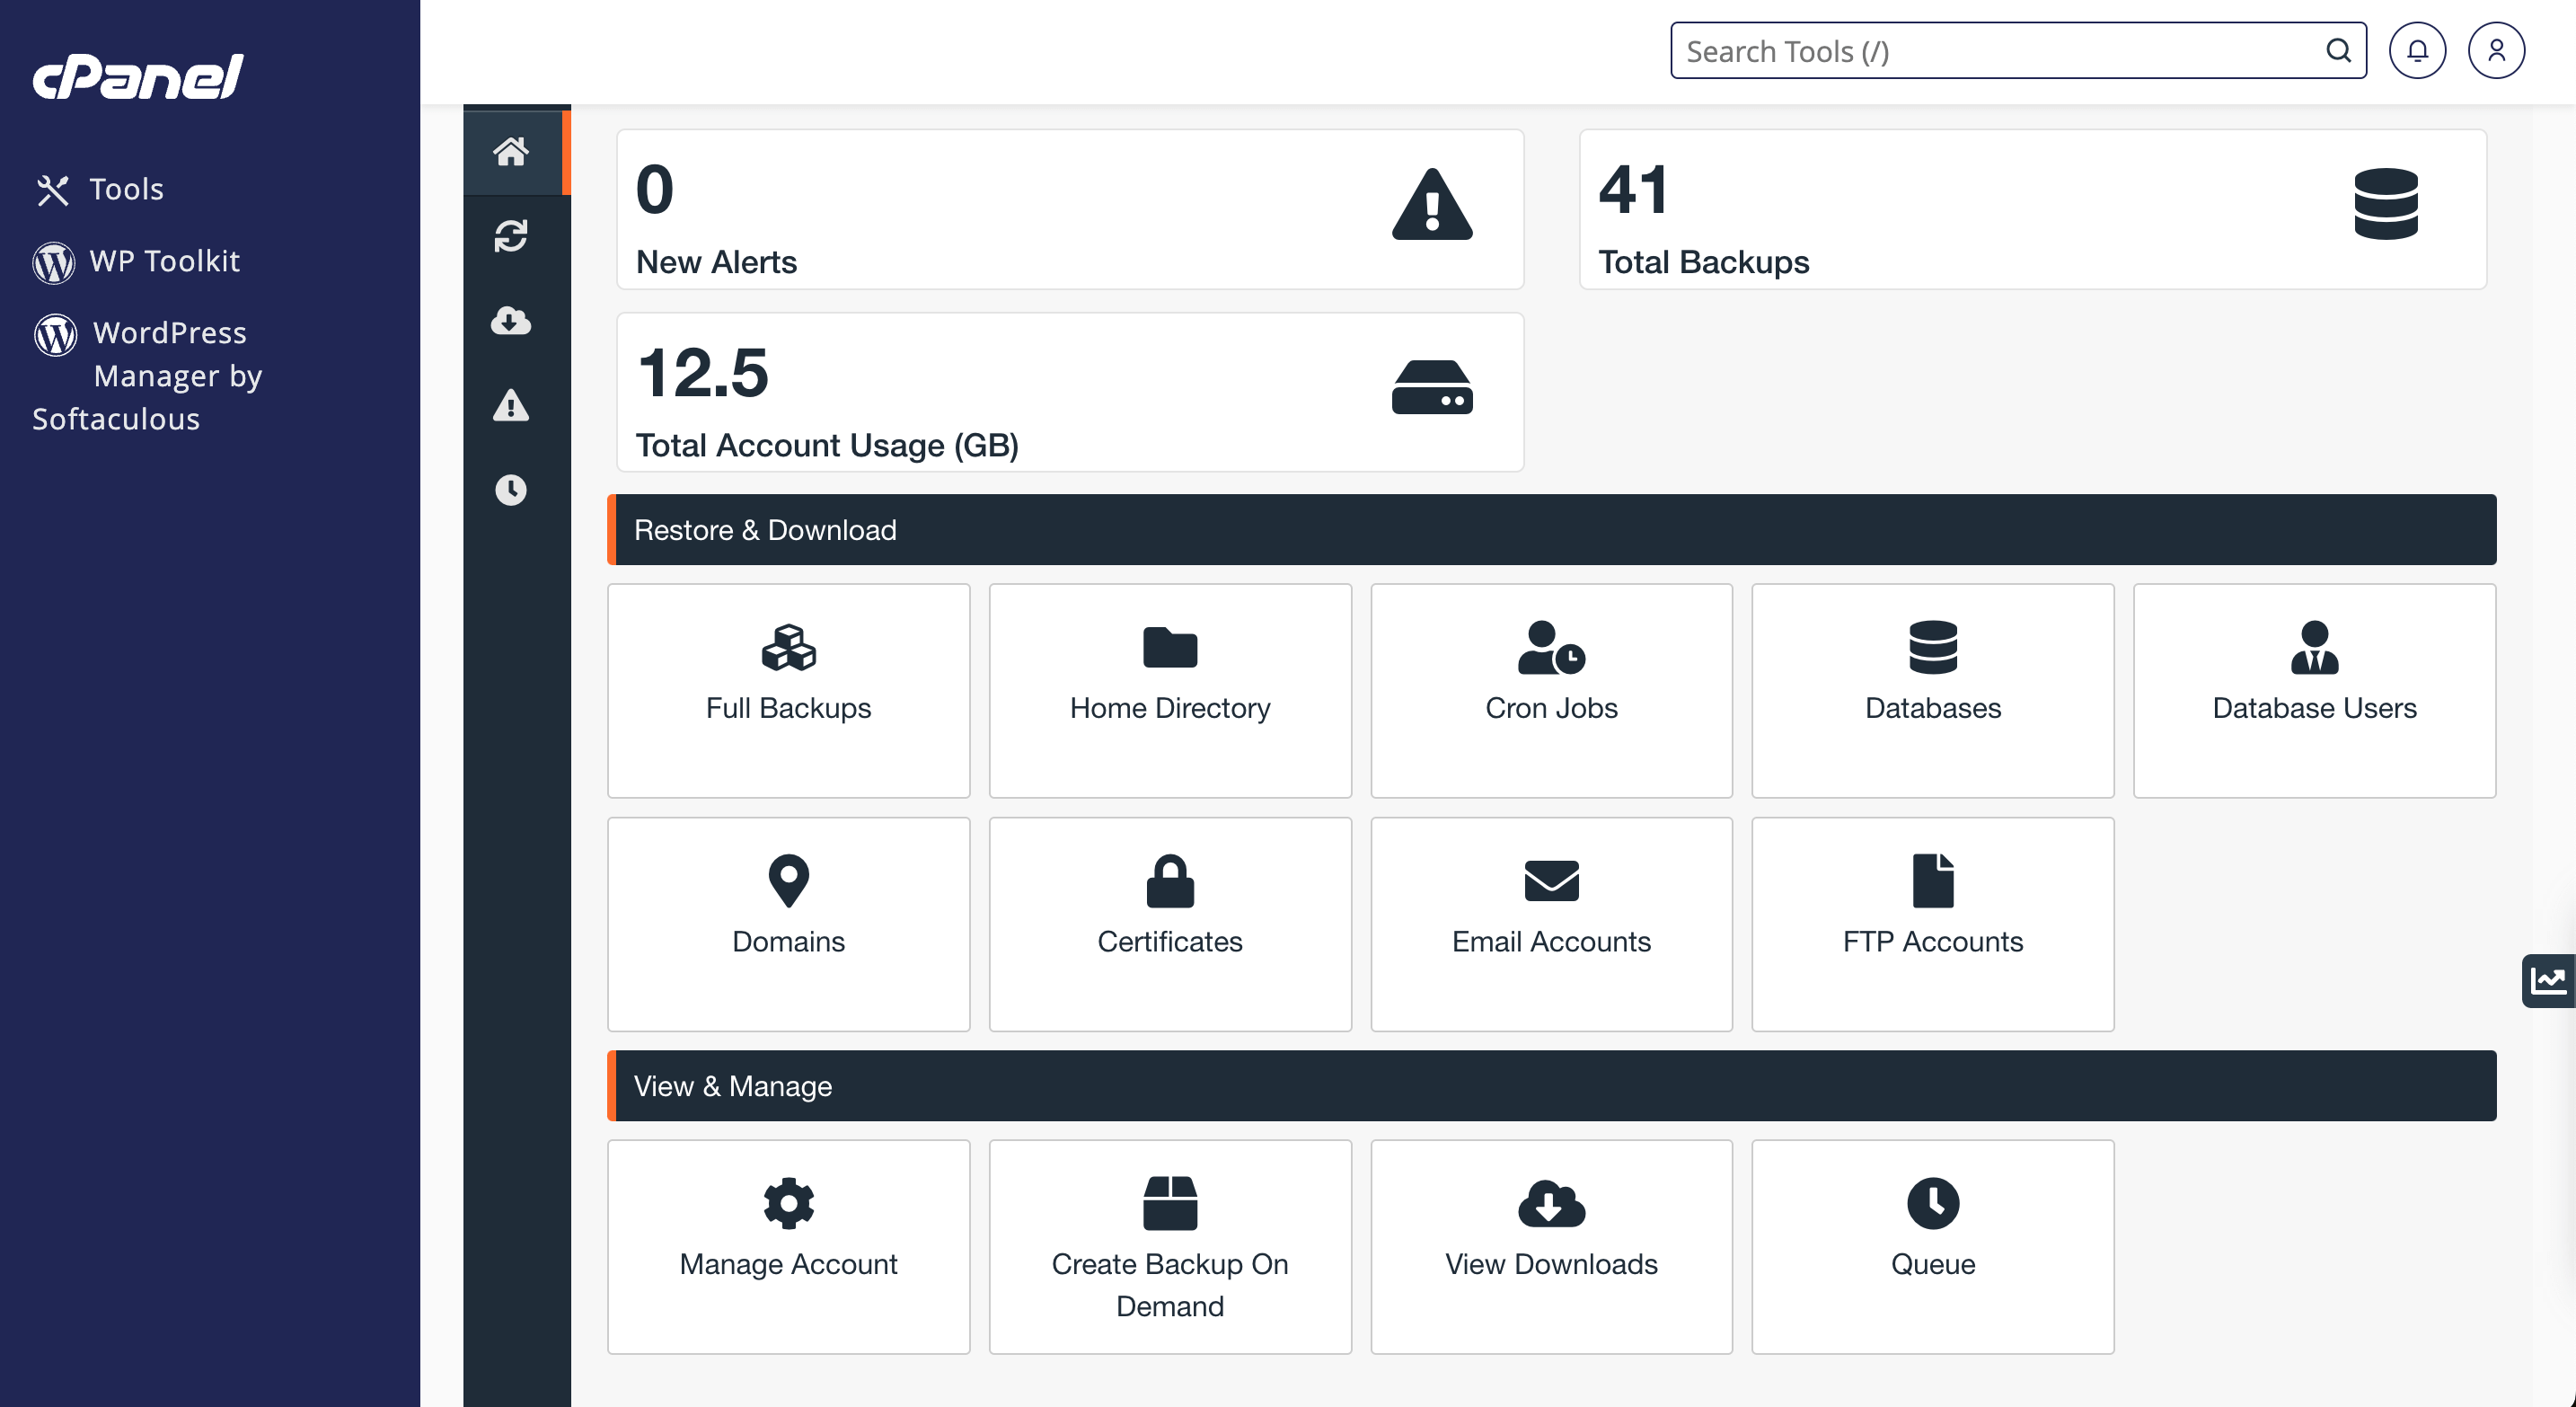
In this example the cPanel account has 41 backups in the JetBackup interface.
JetBackup Restore Step by Step Guide
Full Backups Restore
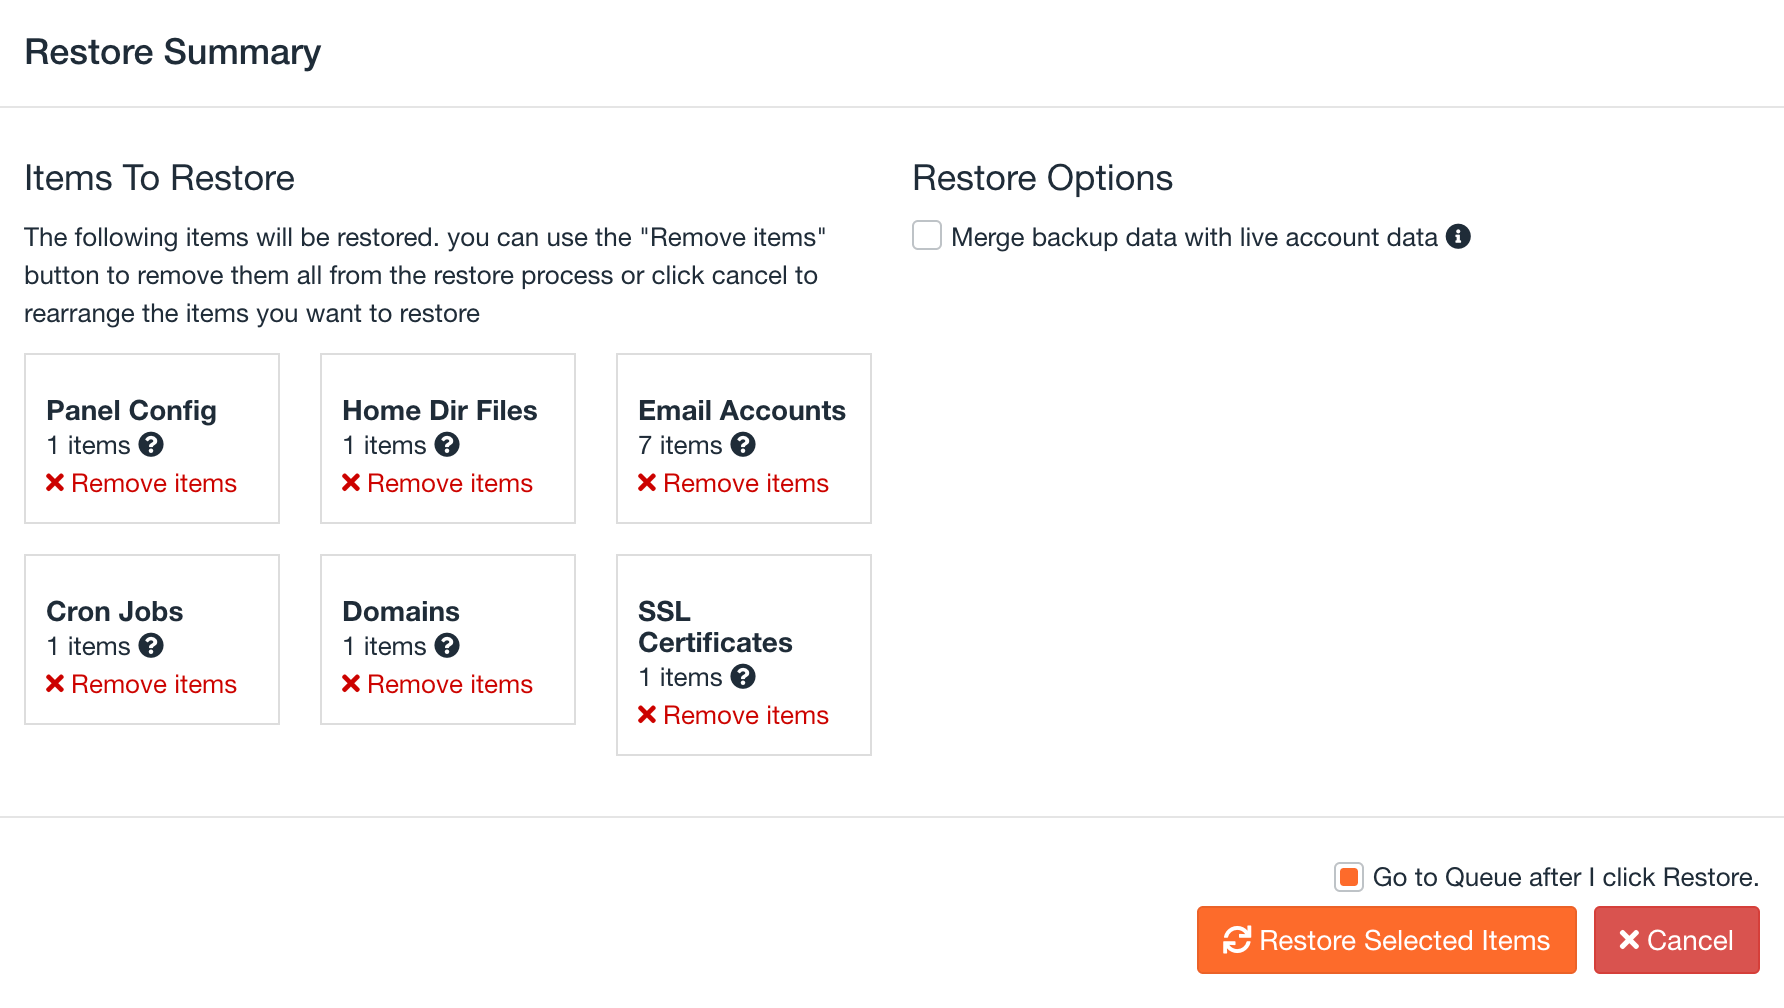
Use the full backups restore feature to run a full restore of cPanel backup items, such as the ones shown in the image below. This type of restore will not give the option to select individual files, email accounts, or databases to restore.
Click Full Backups.
Click on the backup.
Click the restore button at the bottom of the page.
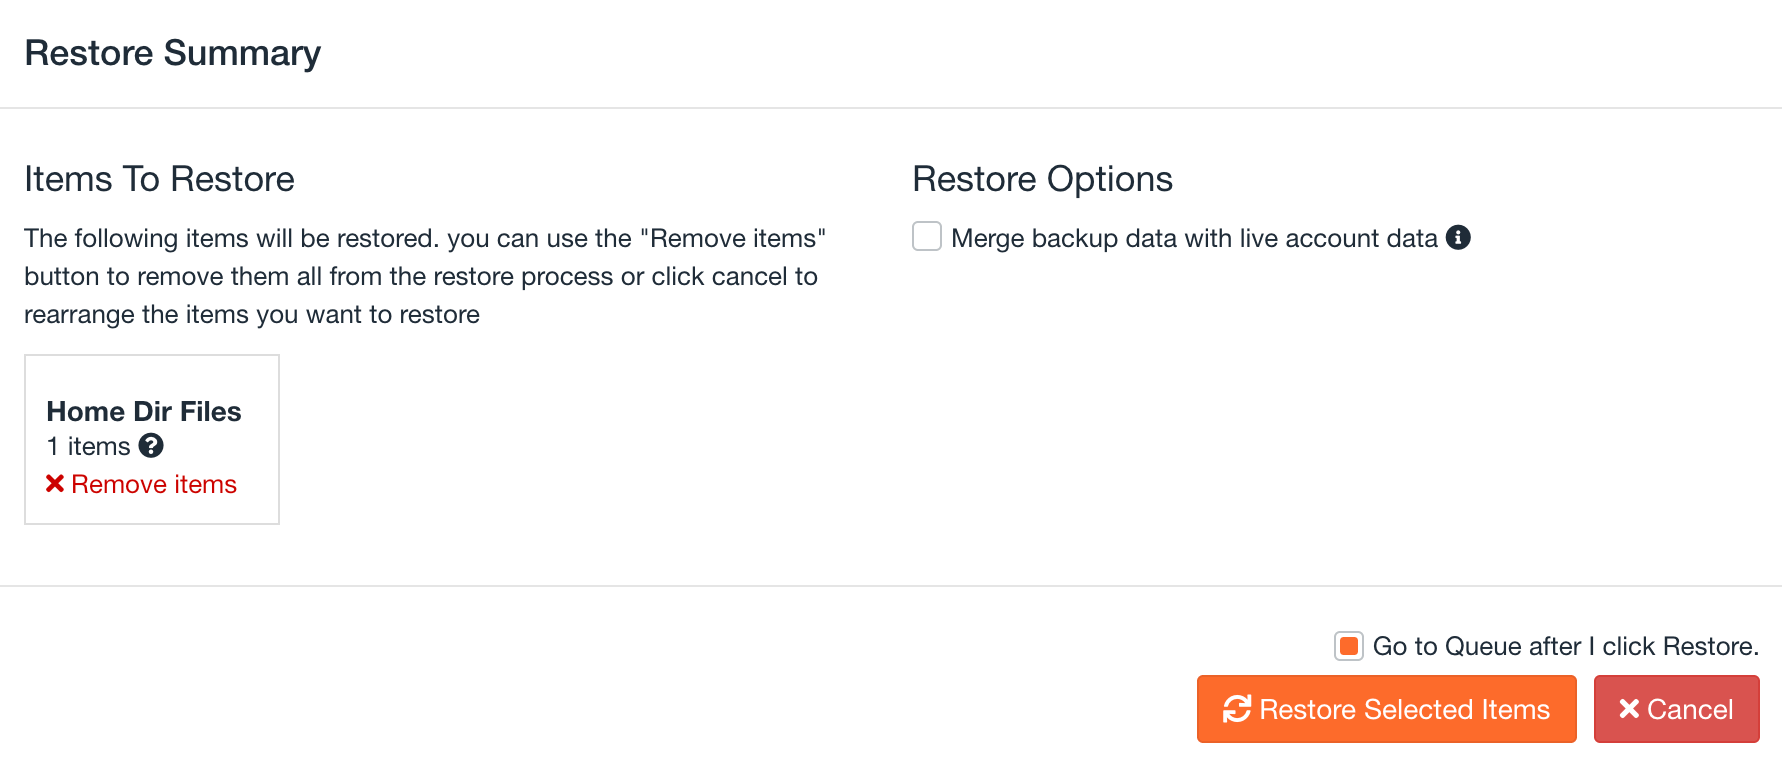
On the restore summary page, remove any items that you want to exclude from the restore.
Click "Restore Selected Items" button.
Go the heading "Wait for the restoration to Complete" at the end of this article, and continue reading.
Home Directory Restore
Use the home directory restore feature to run a full restore of the cPanel account home directory or to select individual files and directories to restore.
Click Home Directory.
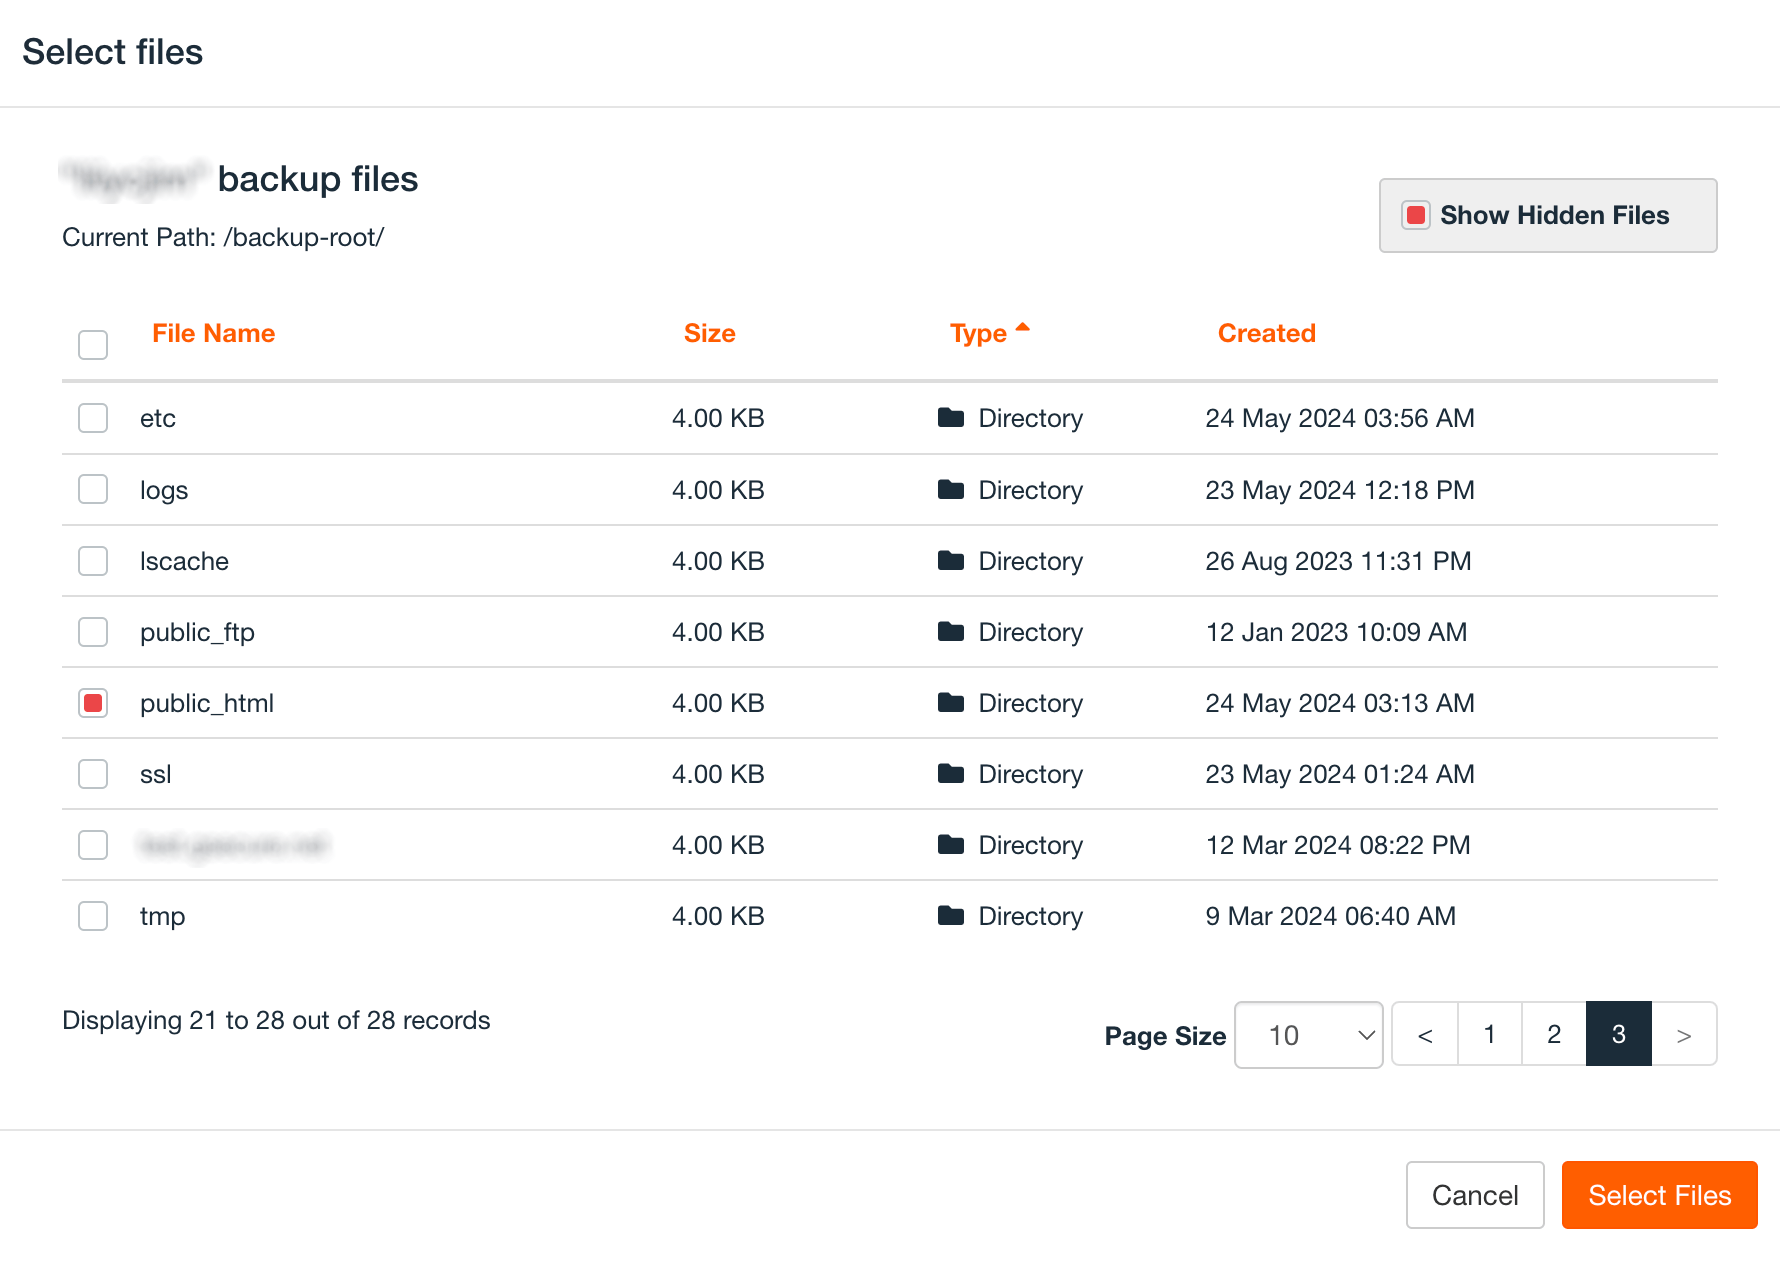
Click on the backup, you have the option to click the "Change Files Selection" button to select individual files and directories. You can click directories to open them and select individual files inside them.
Click "Select Files" button or the "Restore" button at the bottom of the page.
Click "Restore Selected Items" button.
Go the heading "Wait for the restoration to Complete" at the end of this article, and continue reading.
Databases Restore
Use the databases restore feature to run a restore of an individual database.
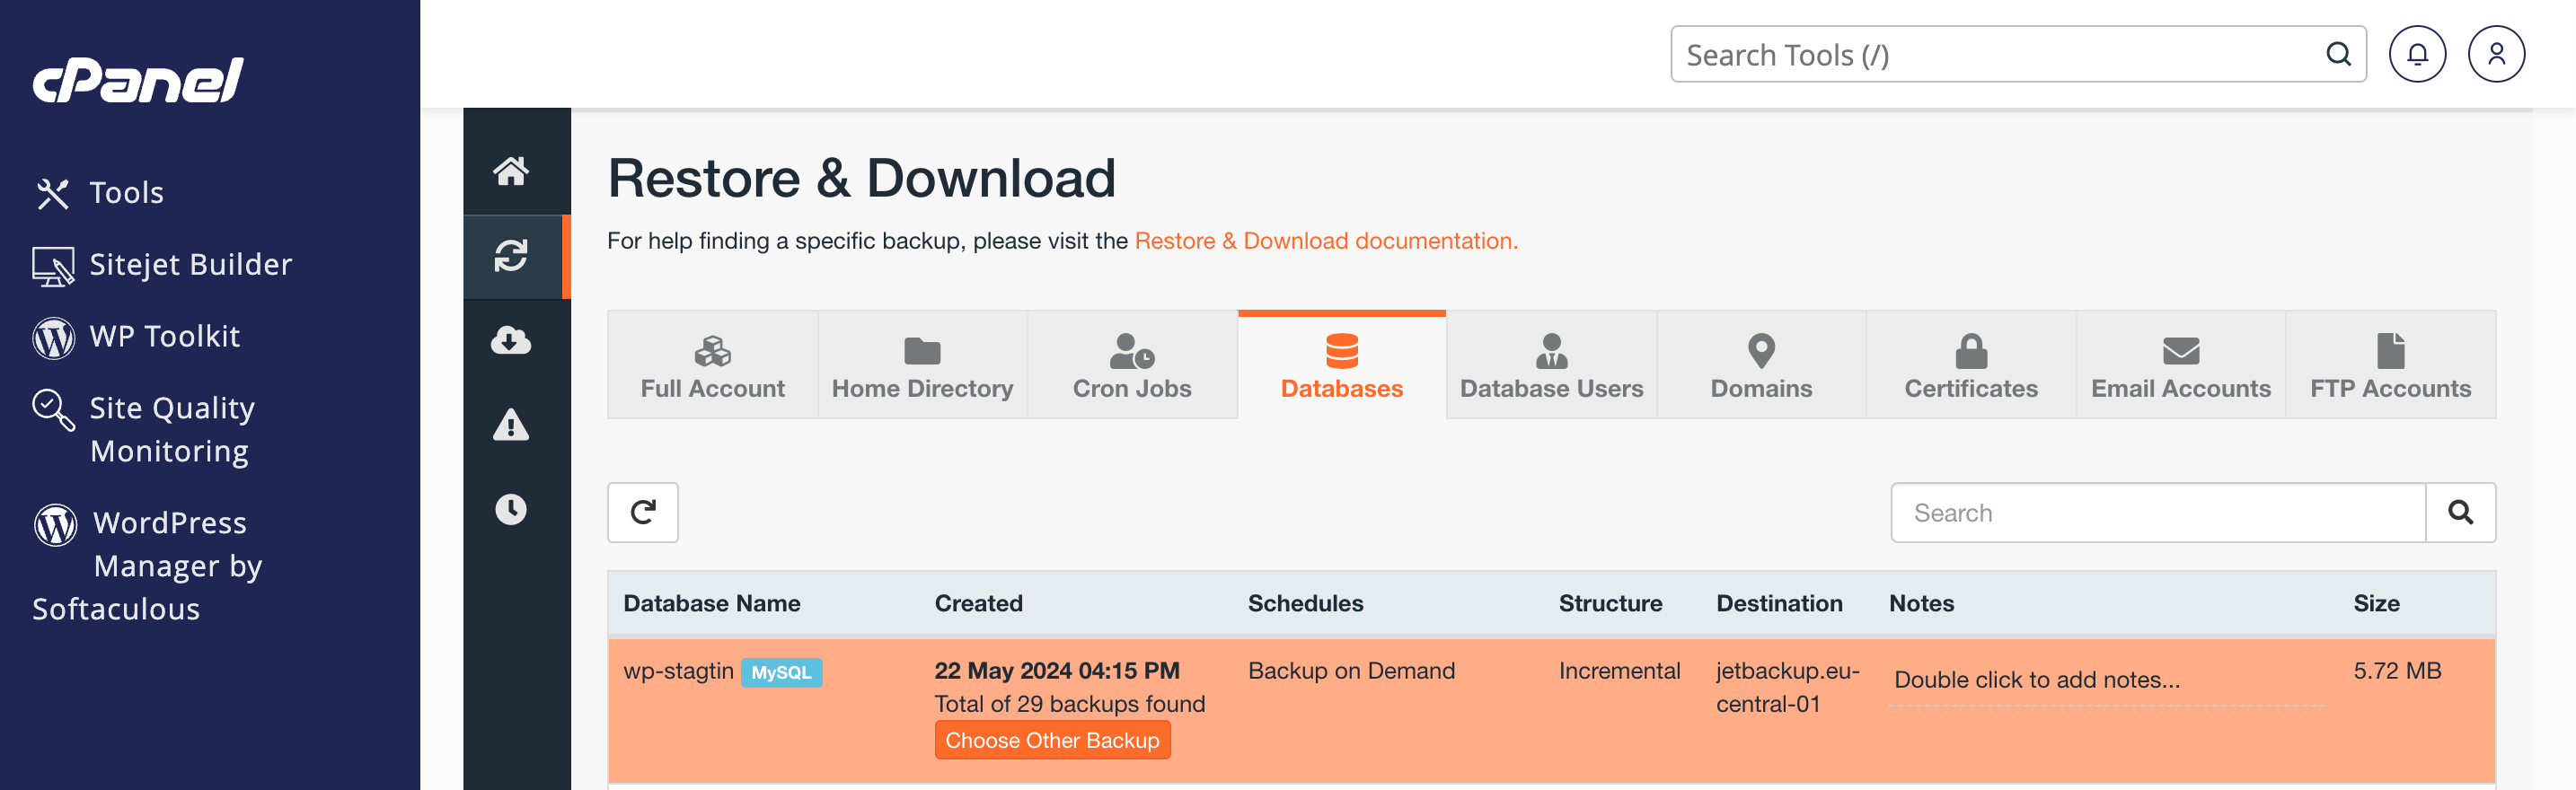
Click Databases.
Click and choose the database you want to restore.
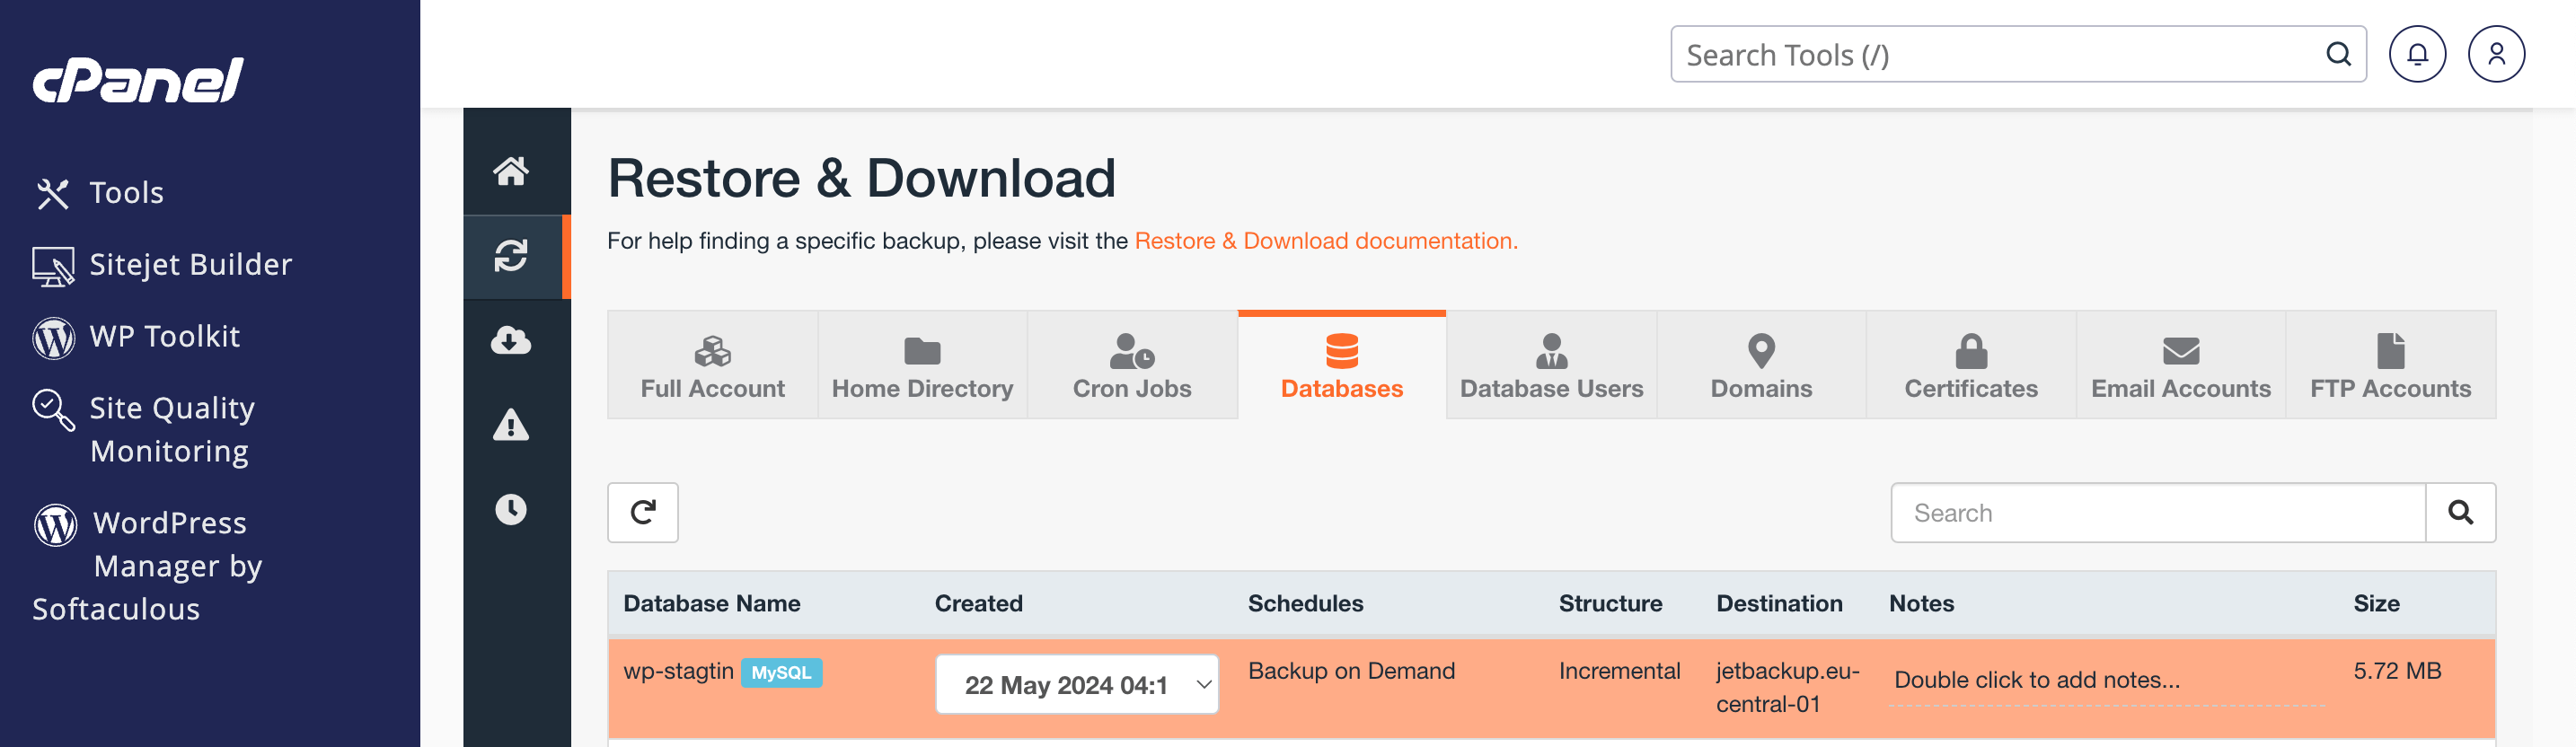
By default, jetBackup will preselect the latest backup of the selected database, you can choose an older backup by clicking "Choose Other Backup" button.
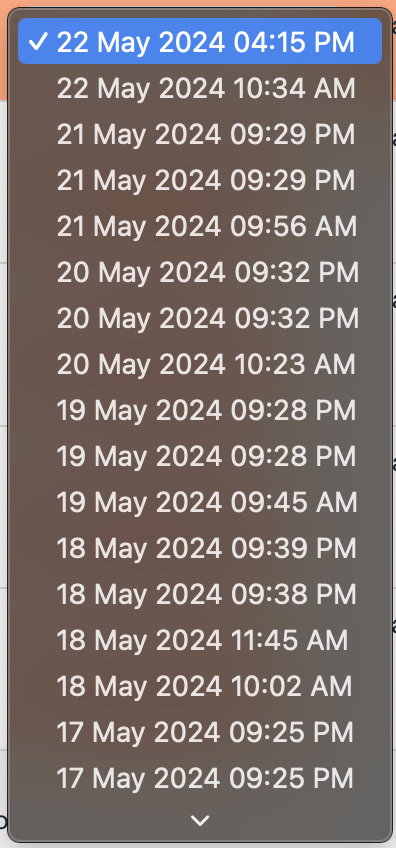
If you clicked the choose other backup, the button will be converted into a drop down button. When you click it you will be able to scroll through different backup dates. Sometimes if the list is too big, at the end there will be a small arrow pointing down. Hover the mouse on that tiny arrow to view more backup dates.
Click the "Restore" button.
Click "Restore Selected Items" button.
Go the heading "Wait for the restoration to Complete" at the end of this article, and continue reading.
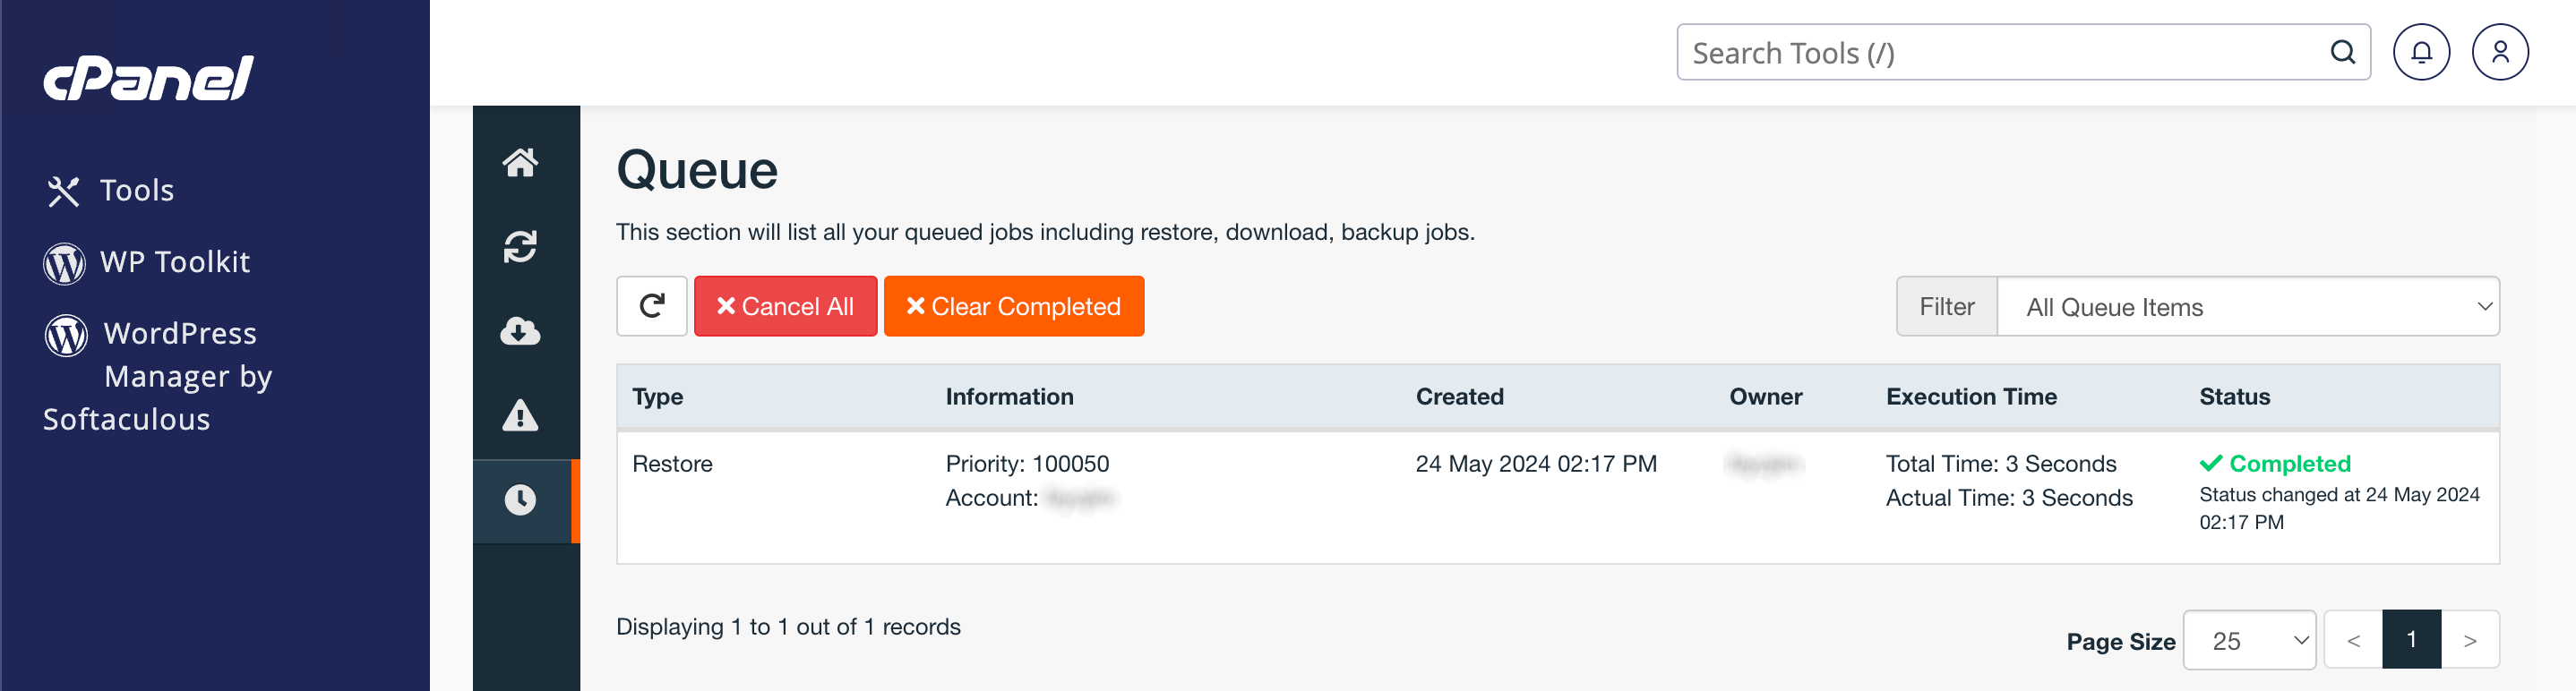
Wait for the restoration to Complete
The restoration process will now begin. It may take some time depending on the size of the backup. You can monitor the progress of the restoration in the queue section. Once the restoration is complete, you’ll see a success message "Completed".
JetBackup UI Error 500 while restoring is normal. Refer to the article JetBackup Restore Error 500 for more information about the error.
Verify the Restoration
Log out and log back into your cPanel account to verify that the restoration was successful.
You’ve successfully restored your cPanel account using JetBackup. If you encounter any issues during the restoration process, please submit a support ticket for assistance.